Installation
The recommended way to install the application is via uv
uv tool install jiratuiAlternatively, you can install it using pip
pip install jiratuior using pipx,
pipx install jiratuiFor Arch Linux (btw) the package is available in AUR
yay -S jiratui-gitIf you are on a Mac you can also install the app using Homebrew
brew install jiratuiAfter installing the package, you can run the CLI tool with the following command:
jiratui --helpThis will show you the available commands for the CLI tool
Usage: jiratui [OPTIONS] COMMAND [ARGS]...

Options:
  --help  Show this message and exit.

Commands:
  comments  Use it to add, list or delete comments associated to work items.
  issues    Use it to search, update or delete work items.
  config    Shows the location of the configuration file.
  themes    Lists the available built-in themes.
  ui        Launches the Jira TUI application.
  users     Use it to search users and user groups.
  version   Shows the version of the tool.
Before you can launch the UI or use the CLI's commands you need to configure a few things. Head over to the configuration section to see how to do that.
Initial Configuration
Before using the application, you need to provide the basic configuration. All the settings can be provided in a yaml file.
The application uses the
XDG specification
to locate config (and log) files. The default name of the config file is
config.yaml. You can override the location of the config file via
the env variable JIRA_TUI_CONFIG_FILE. The application will
attempt to load the config file in the following way:
- If the variable
JIRA_TUI_CONFIG_FILEis set it wil use the file specified by it. - If not, if
XDG_CONFIG_HOMEis set then it will load the file$XDG_CONFIG_HOME/jiratui/config.yaml. - If not, it will attempt to load the file from
$HOME/.config/jiratui/config.yaml.
v1.0.0 the application no longer supports
using the env variable JIRA_TUI_ENV_FILE to define the
.env file with configuration settings. Instead, all settings
must be defined in the config file as described above.
Setting Up the Jira Instance API Credentials
You must provide the following values to connect to your Jira instance API:
jira_api_username- the username for connecting to your Jira's API.jira_api_token- the token for connecting to your Jira's API. This can be a Personal Access Token (PAT)jira_api_base_url- the base URL of your Jira instance API.
Example: Update the file called $XDG_CONFIG_HOME/jiratui/config.yaml and add the following:
jira_api_username: 'bart@simpson.com'
jira_api_token: '12345'
jira_api_base_url: 'https://.atlassian.net' Choosing the API version
JiraTUI supports the Jira REST API v3. However, starting with v1.1.0 JiraTUI supports Jira REST API v2 as well.
By default, JiraTUI uses the Jira REST API v3. This is good when your Jira instance runs in the cloud. However, Jira also offers an on-premises installation mode and in these cases the version of the API may not be v3 but v2 instead. To address this JiraTUI lets you choose which version of the API you can use.
To set the version of the API update your config file to include:
jira_api_version: 2jiratui.example.yaml that you can use to define yours.
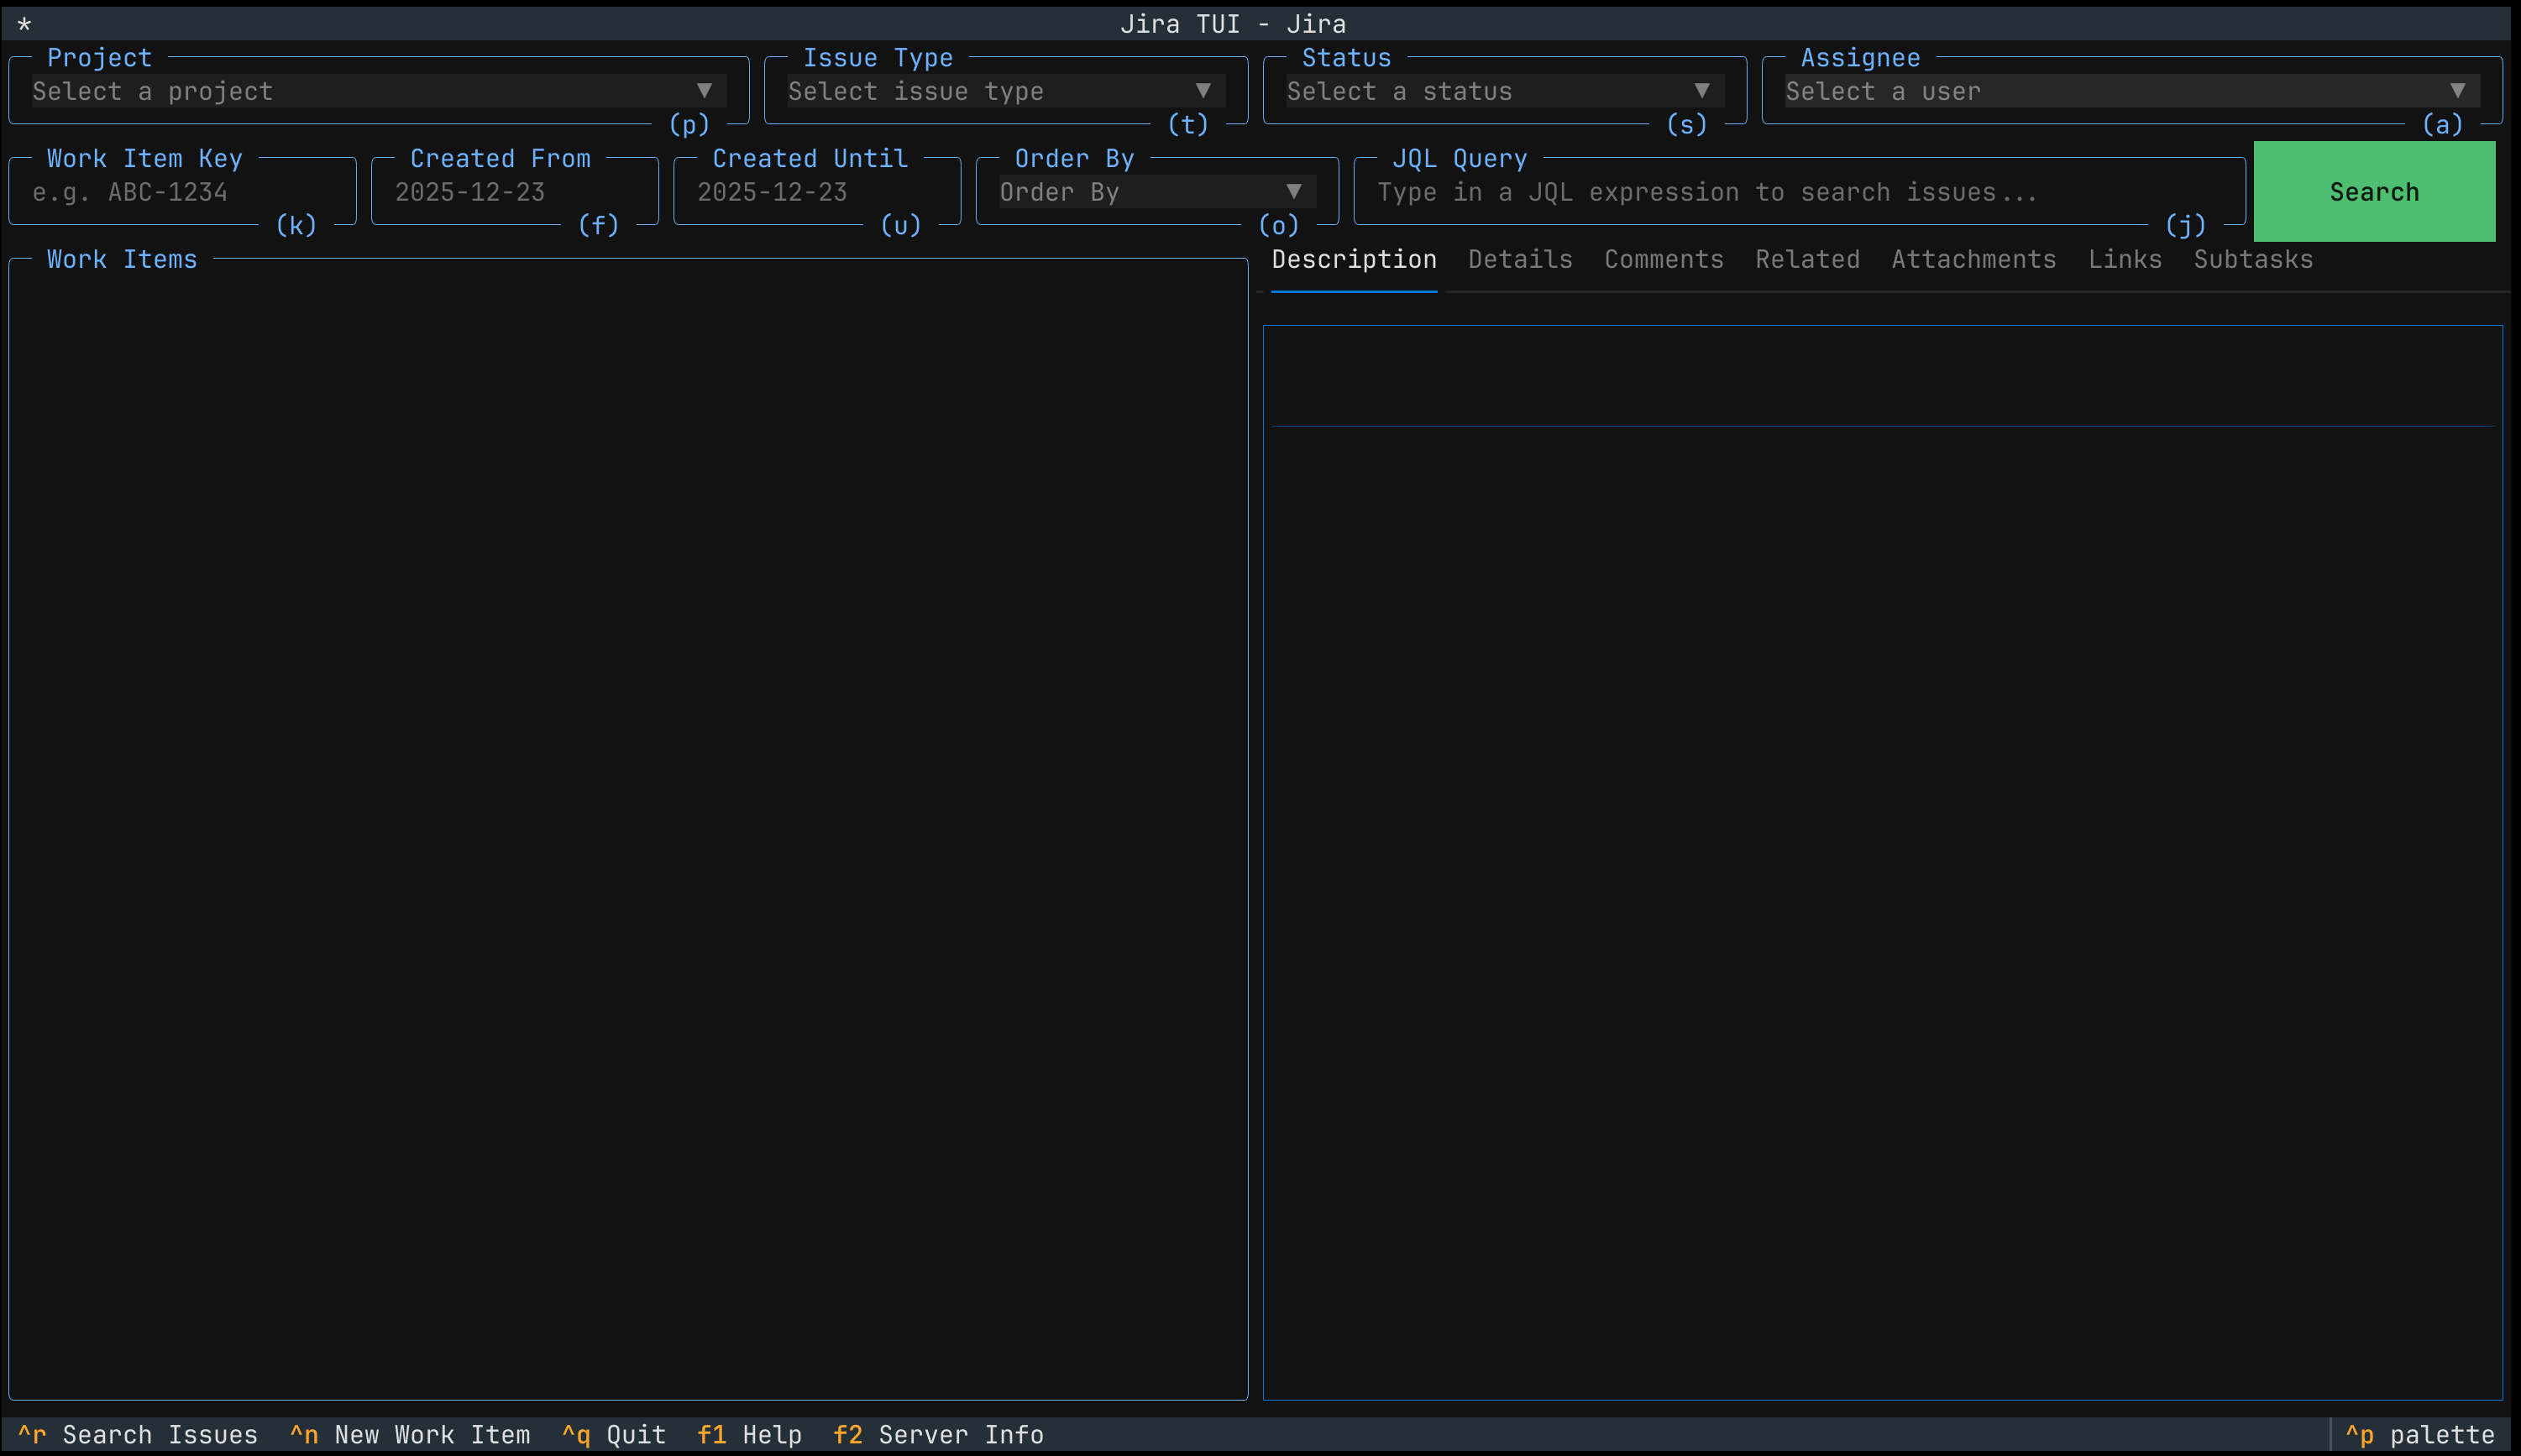
Launching the UI
Now that you have the basic configuration you can launch the UI with the following command
jiratui uiIf everything works fine you should be able to see a screen like the one below.
Next Steps
To learn how to use the CLI tool and set up other configuration options please refer to the documentation at https://jiratui.readthedocs.io